
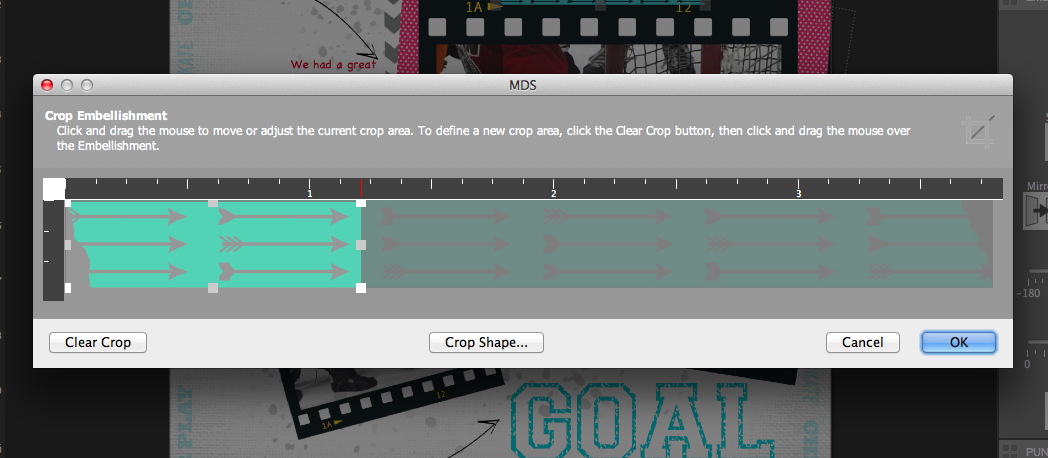
Select the washi tape, copy and paste two times. Select the first copy and hit "Crop".

Crop a portion of the tape on the left.
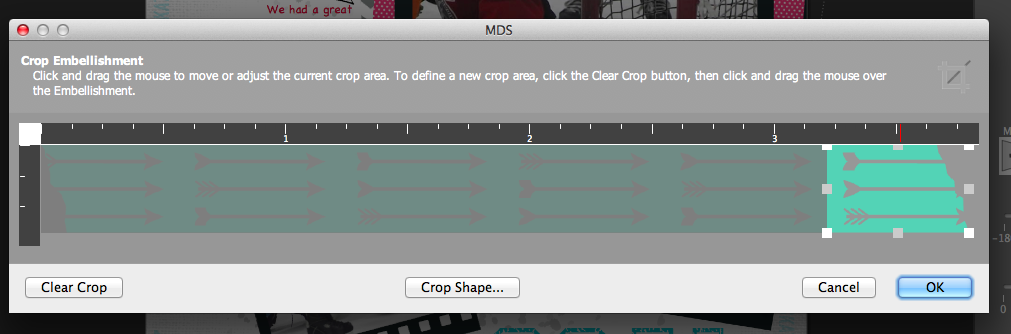
Select the second copy and hit "Crop". Crop a portion on the right.
Now you have two short pieces that still need to be fused together to one piece. Select both pieces and align in the middle.

Now that both pieces are aligned mark the right piece of tape and only use your left arrow key to move them together until they look like one piece. By only using your arrow key you make sure that the the two tape pieces stay aligned properly.
Once they are close together and look like one piece of tape select both pieces and group them together. Now you can copy and pace the tape and move it around.

This is your new piece of washi tape with torn edges on both sides.


No comments:
Post a Comment